
You’ve planned every detail of your big day, the dress, the venue, the flowers, but what about the photos your guests take? Don’t let those memories get lost in the shuffle. With a simple QR code, you can make photo sharing at your wedding effortless.
In this guide, we’ll show you how to use a wedding QR code to collect and share photos with ease. Whether you’re a couple planning your big day, a wedding planner, or a photographer, this guide has you covered.
What Is a Wedding QR Code?
A Wedding QR code is a scannable code that links directly to your digital photo album or gallery. Guests simply scan the code with their phone’s camera to view, upload, or download wedding pictures no app or account required.
Why Use a QR Code for Wedding Pictures?
QR codes are a modern, contactless solution to an age old problem: gathering photos from your guests. Instead of chasing people down after the wedding, you can set up a photo sharing QR code that give the following benefits:
- ✅ Instant Access: Guests can view photos right after the event.
- 📥 Easy Downloads: No need for email links or USB drives.
- 🤳 No app download: You or your guests don't need to download an app
- 📸 Photo Contribution: Guests can upload the candid shots they took.
- 🎨 Aesthetic: Custom QR designs can match your wedding theme.
- 🔒 Privacy Controls: Choose who can view or contribute photos.
Options for Setting Up a QR Code for Wedding Pictures
Here are four options for creating and sharing your wedding photo album with a QR code:
Option 1: Use Quickpix (Recommended)
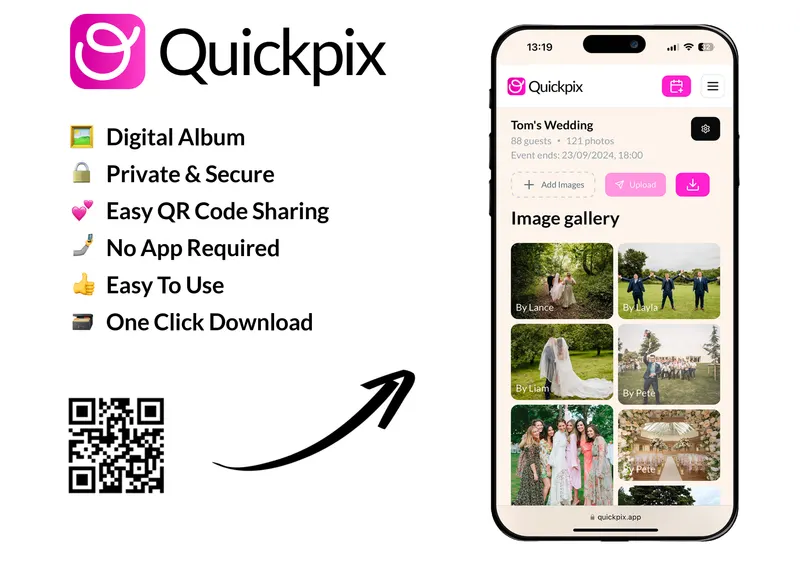
Quickpix is the easiest way to collect and share event photos, no apps, no sign ups. Guests scan a QR code, snap pics, and relive memories together. Perfect for weddings, and any event worth capturing. Simple, seamless, and stress free!
How to Setup
Step 1: Create an event on Quickpix
Start by signing up to Quickpix. Once you're in, you can create a new event in just a couple of minutes. Quickpix will instantly generate a private digital photo album for your wedding. This is where all your guests' photos will be stored, so you won’t have to chase people down for their pictures afterward.
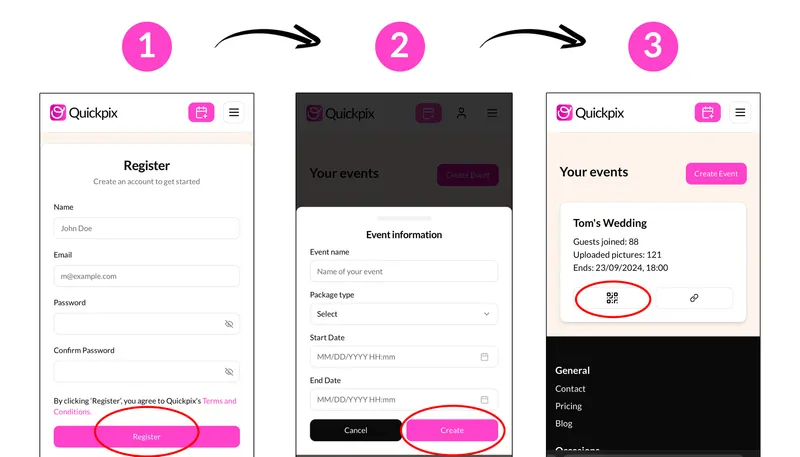
Step 2: Display QR code
Once your event is set up, Quickpix will automatically generate a QR code linked to your photo album. You can personalise this QR code to match your wedding theme.
There are a few creative ways to share it with guests:
-
Print small QR code cards and place them on each table — a stylish and subtle touch.
-
Display a large QR poster at the entrance of the venue so guests can scan it as they arrive.
-
Or even add it to your wedding program or menu cards.
Step 3: Curate your album after the wedding
Once the big day is over, head back to your album. From here, you can review all the photos uploaded by your guests, curate the collection by removing any duplicates or blurry shots, and organise them however you like.
You can then download the final version or share it with friends and family.
Pros ✅
- Easiest to use, even for non tech savvy guests
- Beautifully designed interface
- No guest login or app required
- Great privacy controls
Cons ❌
- Not free (though very affordable)
- Commenting & liking photos not yet supported
Cost 💰
- Affordable pricing based on guest count
Option 2: Google Drive
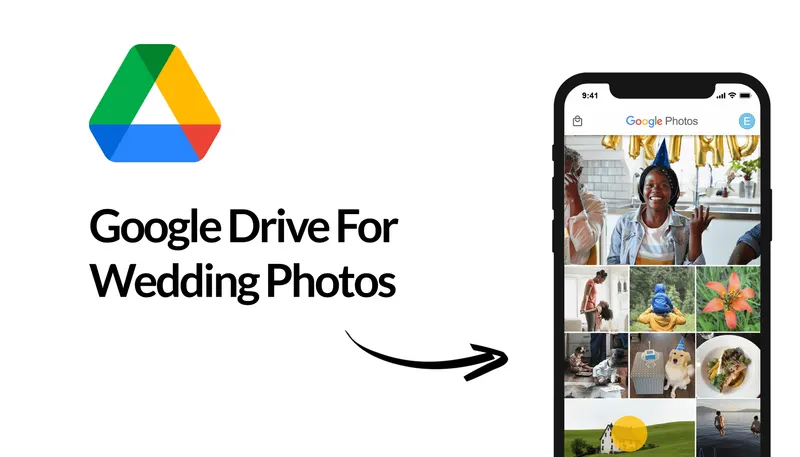
If you're already using Google services, Google Drive offers a free and familiar way to gather photos from your wedding guests. While it’s not designed specifically for photo collection at events, it works well enough for casual setups where you don’t mind a little manual organisation afterward.
How to Setup
Step 1: Create a shared folder
Start by signing into your Google account. Once you're in, go to Google Drive and create a new folder — you can name it something like "Our Wedding Photos".
Step 2: Adjust sharing settings
Right-click the folder, choose “Share”, and then click “Copy Link”. Under “General Access” change the permission to “Anyone with the link” and set it to “Editor” so guests can upload their own photos. This step is key, without the right permissions, people won’t be able to add their pictures.
💡 Optional: You can test the link in a private browser window to make sure it works before sharing it with your guests.
Step 3: Generate a QR code
Use our free QR code generator to create a code that links directly to your shared folder. Just paste in the Google Drive link, and it’ll create a scannable code that anyone with a phone can use.
Step 4: Share the QR code at your wedding
Print the QR code and display it somewhere guests will notice, for example:
-
Place small printouts at each table.
-
Create a sign to display near the guest book or entrance.
-
Include it in your wedding program.
This way, guests can easily scan the code and start uploading their favourite moments from the day.
Pros ✅
- Free
- Familiar to most users
- Easily accessible on mobile
Cons ❌
- Requires guests to have a Google account to upload
- Guests can view, edit, or delete files unless carefully managed
- Limited control over uploads and privacy
- Folder interface isn’t tailored for photo galleries
Cost 💰
- Free with a Google account
Option 3: Private Webpage
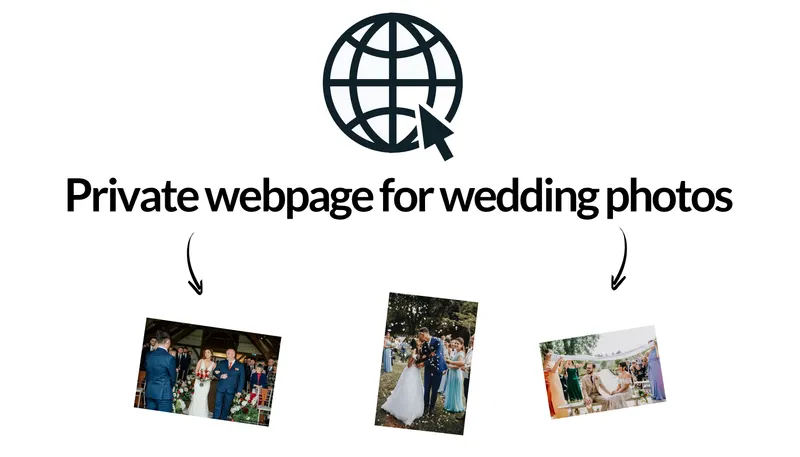
Creating a private webpage is a more custom, hands-on way to collect and share wedding photos. This option gives you full control over the design and presentation, and is perfect if you want something that matches your wedding theme or already have a personal wedding website.
With a bit of setup, it can double as both an upload portal and a place where guests can view or download the photos afterward.
How to Setup
Step 1: Choose a platform
Use a website builder like Wix, Squarespace, or WordPress to create a new page. If you already have a wedding website, you can simply add a new section or page dedicated to photos.
Step 2: Upload & Organise your photos
Add a gallery to showcase your photos, or upload them using the website builder's media manager. You can style the page to reflect your wedding colours, fonts, or theme,a nice touch for keeping everything cohesive.
Step 3: (Optional) Add an upload form
If you want guests to contribute photos, embed a form using tools like Google Forms, JotForm, or Tally. You can collect file uploads, names, and messages. Note that file upload support often requires a paid plan, depending on the platform.
Step 4: Create a QR code
Once your page is ready, generate a QR code using an online free QR code generator that links directly to your webpage. This makes it easy for guests to access the page without typing in a long URL.
Step 5: Share it with your guests
Print the QR code and place it at the venue, on tables, signage, or in the guest book area, so guests can scan it and visit your custom photo page.
Pros ✅
- Full design and branding control
- Can embed password protection and comments
- Professional looking presentation
Cons ❌
- Technical setup or web developer required
- Time consuming to maintain
- May need a paid plan for file uploads
Cost 💸
- Domain + hosting + possible design/developer fees
Tips for Making It a Success
- Make sure the QR code has high contrast for easy scanning ✅
- Include uploading instructions for guests ✅
- Display the code in multiple places for visibility ✅
Which one should I choose
Here’s the final verdict with all four options on the table:
| Platform | Difficulty | Cost | Privacy | Best for |
|---|---|---|---|---|
| Quickpix | Very Easy | Affordable | Customisable (host controls visibility) | Couples who want a polished, easy solution built for weddings |
| Google Drive | Medium | Free | Limited (anyone with the link can view/upload) | Free, familiar option if you're okay with some messiness |
| Private Webpage | Hard | Variable | Password protection optional | Depends on implementation |
Still not sure?
Here’s how to choose in plain terms:
Want something beautiful, private, and ridiculously easy to set up? → Quickpix is made for you.
Prefer a free DIY route and are okay managing a messy folder? → Try Google Drive.
Already have a wedding website or want full control over the look and layout? → A Private Webpage is your best bet.
Conclusion
Using a QR code for wedding pictures is a modern, elegant, and easy way to bring your wedding memories to life. It’s not just tech savvy it’s thoughtful. With just a scan, your guests can relive those magical moments anytime.
Pick the option that best fits your style and let your wedding album be just one scan away.
Frequently Asked Questions
Can I use multiple QR codes?
Absolutely! For example, one for uploading and one for viewing.
When should I set it up?
Ideally, set it up at least a week before your wedding to allow time for testing, customising, and printing it on signage or stationery.
What if guests aren’t tech savvy?
Make it easy with a clear sign that explains it in one sentence. “Scan this to upload photos, no app needed!”
Can I track who uploads photos using the QR code?
Platforms like Quickpix use guest name prompts before joining an event, so you can see who contributed each photo.
How long will the photo album be available after the wedding?
This depends on the platform. Quickpix allows access for upto a year, while others like Google Drive may remain accessible indefinitely unless deleted.


